4D v13
Creating an OLE Area in an External Window
- OLE Tools
-
- Creating an OLE Area
-
- Creating an OLE Area in a Form
- Creating an OLE Area in an External Window
 Creating an OLE Area in an External Window
It is possible to create an OLE Area in an independant external window. Then, the external window is dedicated to the use of the OLE area. You may:
- create the window using the 4D command Open external window,
- use the command OLE tools from the menu Tools of 4D.
The 4D command Open external window allows you to open programmatically an external area including an OLE area.
For example, the following statement creates a type 8 external window named "OLE Window" which include an OLE area:
 myWindow:=Open external window(50;50;350;450;8;"OLE Window";"_OLE tools")

 ... ` Do something here

 CLOSE WINDOW(myWindow)
This statement can be associated for example to a menu command or a button placed in a form. Once the method is executed, the variable myWindow contains the reference number of the external window. This reference number can be passed as parameter to the OLE_Tools plug-in commands in order to perform automatic actions in the window.
For information about these commands, refer to the section Introducing the OLE_Tools commands.
All the operations allowed by the OLE Services can also be performed manually. Refer to the chapter Using an OLE Area.
You can open an external window dedicated to the use of OLE from the 4D Design mode:
1. Go to 4D Design mode.
2. Select the command OLE tools from the Tools menu.
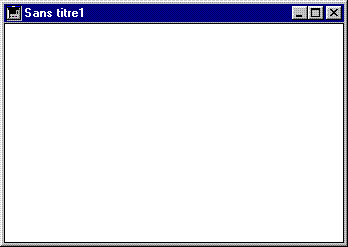
A blank window appears, called "Untitled1". It contains an OLE Area.

You can perform in this window any action allowed by the OLE Services. For more information, refer to the chapter Using an OLE Area.
Note: This method can be used in the Design mode only. Indeed, as no window reference number is returned, it is not possible to manipulate the OLE area through the language commands.
Product: 4D
Theme: Creating an OLE Area


