4D v13
Creating an OLE Area in a Form
- OLE Tools
-
- Creating an OLE Area
-
- Creating an OLE Area in a Form
- Creating an OLE Area in an External Window
 Creating an OLE Area in a Form
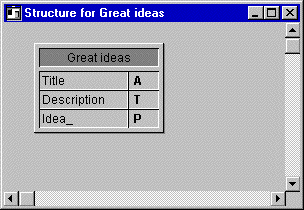
This section presents an example of a database that stores an OLE object. Consider the database whose structure is shown:

1. Create a new database and add this table to the database.
Note the presence of the picture field [Great Ideas]Idea_. The underscore at the end of the field name signals to 4D that the field can store a plug-in object, like an OLE object
Note: You can also use a BLOB field.
Let’s add an OLE object in the input form for this file.
2. In the Design environment, open the layout and choose Insert OLE Object from the Object menu.
4D inserts an OLE area as shown:

The message in the OLE object shows that 4D automatically detects the presence of the [Great Ideas]Idea_ picture or BLOB field and uses it as the container for the OLE area.
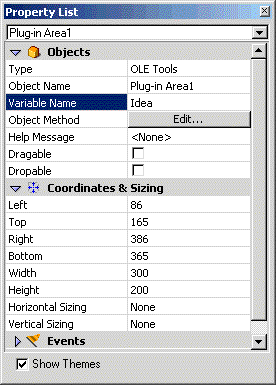
3. Double-click on the area to display the Property List:

With this palette you can change the name of the area, for example, if you want to associate the area with another field in the table. To do so, you need only respect the following convention: if your area is named Name, it can be automatically stored and loaded from a picture or BLOB field named Name_ (same name followed by an underscore) that belongs to the form’s table.
Product: 4D
Theme: Creating an OLE Area


