4D v13.4
Menu editor
 Menu editor
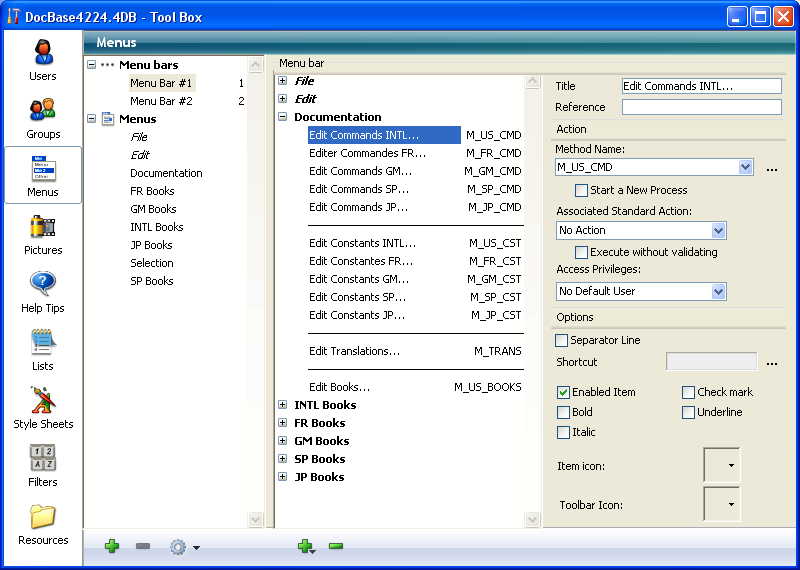
The Menu editor can be accessed using the Menus button of the Tool box.

Menus and menu bars are now displayed as two items of the same hierarchical list, on the left side of the dialog box. This means that you can view all the menus defined in the database at once, without it being necessary to first select a menu bar. The menus are listed in alphabetical order.
Each menu can be attached to a menu bar or to another menu. In the second case, the menu becomes a sub-menu (see Attaching a menu to another menu (sub-menus)).
To view the contents of a menu bar or a menu, click on its title in the left-hand list of the editor. The list of items belonging to the menu bar or menu will be displayed in the central area. The properties of the menu bar or menu will also appear on the right-hand side of the window. To display the properties of a menu item, select it in the central part of the window.
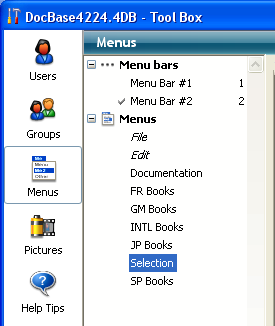
A check mark indicates the element (menu bar or menu) to which the selected menu belongs. When a menu is associated with several items, several check marks will be displayed. In the following example, the "Selection" menu is attached to Menu Bar #2:

If the menu is not used (independent menu), no check mark appears.
The Menu editor includes a context menu, which can be used to directly access possible actions depending on the type of item that was clicked (menu bar, menu, items). The context menu can be used to add or remove an item, expand or collapse the list and provide more specific actions.
The Menu editor also includes an options menu that can be accessed by clicking on the button shaped like a gear, which is found below the left-hand list. This menu includes both permanent commands and context commands. The permanent commands let you create a new menu bar or new menu, as well as a standard Edit menu. The context commands depend on the item selected (menu bar or menu) and offer appropriate management actions.
Product: 4D
Theme: Menus and menu bars


